
kenmore ultra mini sewing machine owner’s manual
Kenmore Ultra Mini Sewing Machine Owners Manual: Article Plan
This comprehensive guide offers a structured overview of the Kenmore Ultra Mini sewing machine․ It details essential aspects, from model identification to troubleshooting․ Users will find guidance on accessing manuals, threading, bobbin management, tension adjustment, basic techniques, and crucial maintenance for prolonged machine life․
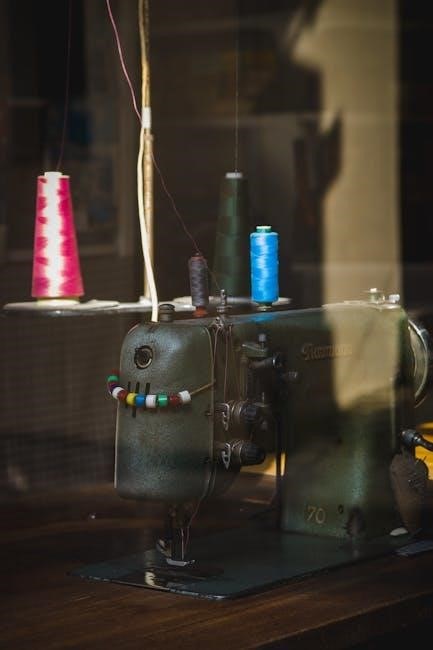
The Kenmore Ultra Mini sewing machine is a compact and lightweight option designed for beginners, small projects, and on-the-go sewing needs․ Its user-friendly design makes it accessible to those new to sewing, while its portability allows for convenient use in various locations․ These machines often feature basic functionalities such as straight stitch and zigzag stitch, suitable for simple tasks like hemming, mending, and crafting․
Despite their small size, Kenmore Ultra Mini sewing machines retain essential components found in larger models, ensuring reliable performance․ The availability of instruction manuals, both online and in print, further enhances the user experience, providing guidance on threading, bobbin winding, and basic operation․ These manuals are invaluable resources for understanding the machine’s features and troubleshooting common issues․
The popularity of Kenmore Ultra Mini sewing machines stems from their affordability, ease of use, and portability․ They serve as excellent starter machines for children and adults alike, fostering an interest in sewing without the intimidation of more complex models․ With proper care and maintenance, these compact machines can provide years of dependable service for a variety of sewing projects․
Identifying Your Kenmore Ultra Mini Model
Accurately identifying your Kenmore Ultra Mini sewing machine model is crucial for accessing the correct owner’s manual and ensuring compatibility with replacement parts․ Kenmore sewing machines typically have a model number located on a sticker or plate, often found on the base or back of the machine․ This number is essential for finding specific information about your machine’s features, capabilities, and maintenance procedures․
The model number usually consists of a series of numbers, sometimes with a prefix or suffix․ Common Kenmore model numbers may start with “385,” followed by a series of digits that indicate the specific machine․ Once you locate the model number, note it down carefully․ This information will be used to search for the correct manual and any parts needed․
Online resources, such as Sears Parts Direct and other appliance parts websites, allow you to input the model number to find compatible manuals, parts diagrams, and troubleshooting guides․ Having the correct model number ensures you receive accurate information, preventing confusion and ensuring your sewing machine operates smoothly and efficiently․ Proper identification is the first step towards effective maintenance and repair․
Accessing and Downloading the Correct Manual
Once you have identified your Kenmore Ultra Mini sewing machine’s model number, accessing the correct owner’s manual is the next vital step․ Many resources are available online to help you find and download the specific manual for your model․ Start by visiting the Sears Parts Direct website, which offers a comprehensive database of Kenmore appliance manuals․
Enter your sewing machine’s model number into the search bar on the website to locate the corresponding manual․ The manual is usually available as a PDF document, which you can view online or download for offline access․ Other websites and online forums dedicated to sewing machines may also host manuals for various Kenmore models․
Be cautious when downloading manuals from unofficial sources, as they may not be accurate or complete․ Always verify that the manual matches your specific model number and contains the information you need․ Downloading the correct manual will provide you with detailed instructions on threading, bobbin winding, stitch selection, troubleshooting, and maintenance, ensuring you can properly operate and care for your Kenmore Ultra Mini sewing machine․ Having the manual readily available will save you time and frustration․
Threading the Machine: Step-by-Step Guide
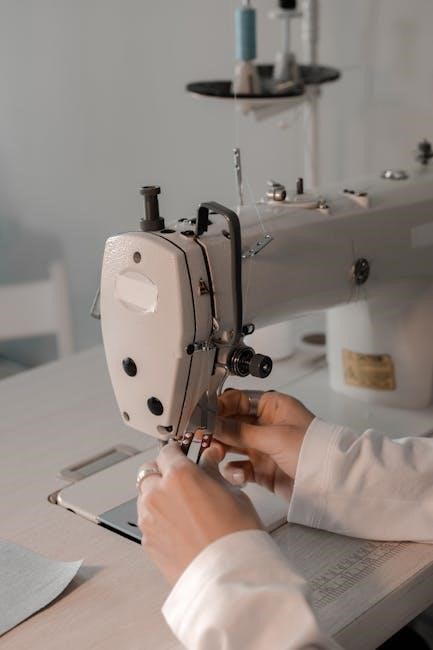
Threading your Kenmore Ultra Mini sewing machine correctly is crucial for achieving consistent and quality stitches․ Begin by raising the presser foot and placing the spool of thread on the spool pin, ensuring it unwinds smoothly․ Guide the thread through the thread guide, usually located on top of the machine, following the directional arrows or diagrams printed on the machine’s body․
Next, guide the thread down through the tension discs, ensuring it is properly seated between them․ This step is important for controlling thread tension during sewing․ Bring the thread up and through the thread take-up lever, making sure the lever is at its highest point․ Then, guide the thread down again towards the needle․
Finally, thread the needle from front to back, or as indicated in your specific model’s manual․ Leave a few inches of thread hanging behind the needle․ Before you start sewing, gently pull up the bobbin thread through the needle plate, ensuring both the needle and bobbin threads are positioned correctly․ Following these steps carefully will help you avoid common threading issues and ensure smooth operation of your sewing machine․

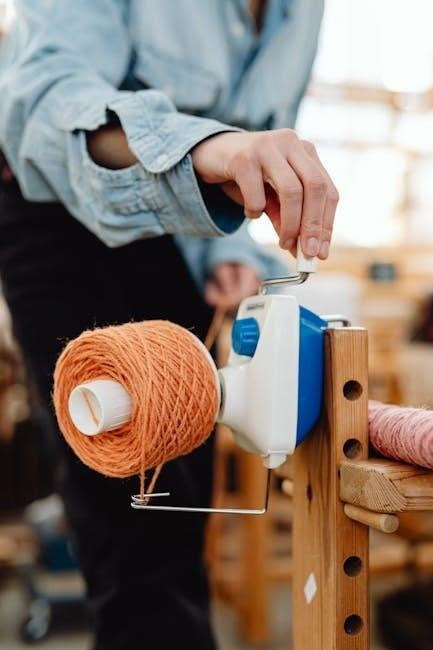
Bobbin Winding and Insertion Instructions

Proper bobbin winding and insertion are essential for seamless sewing with your Kenmore Ultra Mini․ To wind the bobbin, first, place the thread spool on the spool pin․ Then, guide the thread through the bobbin winding tension disc, ensuring it’s snug․ Wind the thread around the empty bobbin a few times to secure it․
Next, place the bobbin on the bobbin winder spindle․ Push the spindle to the right to engage the winding mechanism․ Hold the thread tail and start the machine․ The bobbin will wind automatically․ Once it’s full, it will stop․ Cut the thread and push the spindle back to the left to remove the bobbin․
To insert the bobbin, locate the bobbin case within the machine․ Open the bobbin case latch and insert the bobbin, ensuring the thread unwinds in the correct direction (usually counter-clockwise)․ Guide the thread through the tension spring on the bobbin case․ Close the latch․ Now, draw up the bobbin thread through the needle plate by holding the needle thread and turning the handwheel․ Your machine is now ready to sew!

Adjusting Thread Tension for Optimal Stitching

Achieving the perfect stitch with your Kenmore Ultra Mini sewing machine hinges on proper thread tension․ The tension refers to the balance between the thread coming from the top (needle thread) and the thread coming from the bobbin․ Incorrect tension leads to issues like looping, skipped stitches, or puckered fabric․
To adjust the top thread tension, locate the tension dial on your machine․ A higher number generally increases the tension, while a lower number decreases it․ Start with the recommended tension setting in your manual, usually around 4․ Sew a test seam on a scrap of your fabric․
If the bobbin thread is visible on the top side of the fabric, the top tension is too loose․ Increase the tension slightly․ If the needle thread is visible on the underside, the top tension is too tight․ Decrease the tension․ Make small adjustments and test repeatedly until the stitches appear balanced and even, with the threads locking in the middle of the fabric layers․ Consistent testing ensures optimal stitching․
Basic Sewing Techniques and Stitch Selection
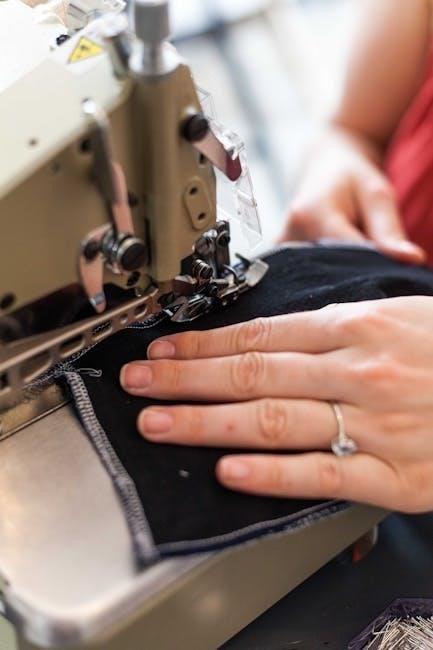
Mastering fundamental sewing techniques and understanding stitch selection are key to unlocking the potential of your Kenmore Ultra Mini sewing machine․ Begin with straight stitches, ideal for seams and hems․ Select the appropriate stitch length based on your fabric; shorter stitches for lightweight fabrics and longer stitches for heavier materials․
For finishing raw edges, explore zigzag stitches․ These prevent fraying and add durability․ Experiment with different zigzag widths and lengths to achieve desired results․ Backstitching, also known as reverse stitching, is essential for securing seams at the beginning and end․ Sew a few stitches forward, then backstitch over them, and continue sewing forward․
The Kenmore Ultra Mini might also offer decorative stitches․ Consult your manual for specific stitch patterns and settings․ Practice on scrap fabric to understand how each stitch looks and performs․ Always maintain a consistent seam allowance, guiding the fabric edge along the edge of the presser foot․ Proper guidance and practice yield professional-looking results․
Troubleshooting Common Issues and Solutions
Even with careful use, you may encounter occasional issues with your Kenmore Ultra Mini sewing machine․ One common problem is thread breakage․ This can often be resolved by re-threading the machine, ensuring the thread is properly seated in all guides and the tension is correctly adjusted․
Another frequent issue is skipped stitches․ Check the needle; it might be bent, dull, or the wrong size for the fabric․ Also, verify that the needle is correctly inserted․ Bobbin problems, such as uneven winding or improper insertion, can also cause stitching irregularities․ Rewind the bobbin evenly and ensure it’s placed correctly in the bobbin case․
If the fabric is bunching or puckering, the thread tension may be too tight․ Loosen the tension dial slightly and test on scrap fabric․ Regular cleaning can also prevent many problems․ Remove lint and debris from the bobbin area and feed dogs․ If problems persist, consult the manual or seek professional service․
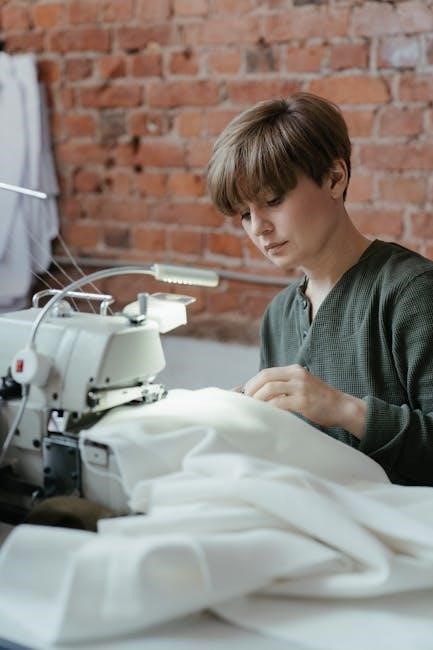
Maintenance and Care for Longevity
Proper maintenance is key to extending the life of your Kenmore Ultra Mini sewing machine․ Regularly clean the machine to remove lint and dust, which can accumulate and affect performance․ Use a soft brush to clean around the bobbin case, feed dogs, and other accessible areas․ Oiling the machine is also crucial․ Refer to your manual for specific oiling points and recommended oil type; typically, sewing machine oil is best․
When not in use, cover the machine to protect it from dust and sunlight․ Store it in a dry place to prevent rust․ Replace needles regularly, as dull or damaged needles can cause skipped stitches and fabric damage․ Periodically check and tighten any loose screws․ If you notice unusual noises or vibrations, address them promptly to prevent further damage․ For complex repairs, seek assistance from a qualified technician to ensure your machine continues to operate smoothly for years to come․